
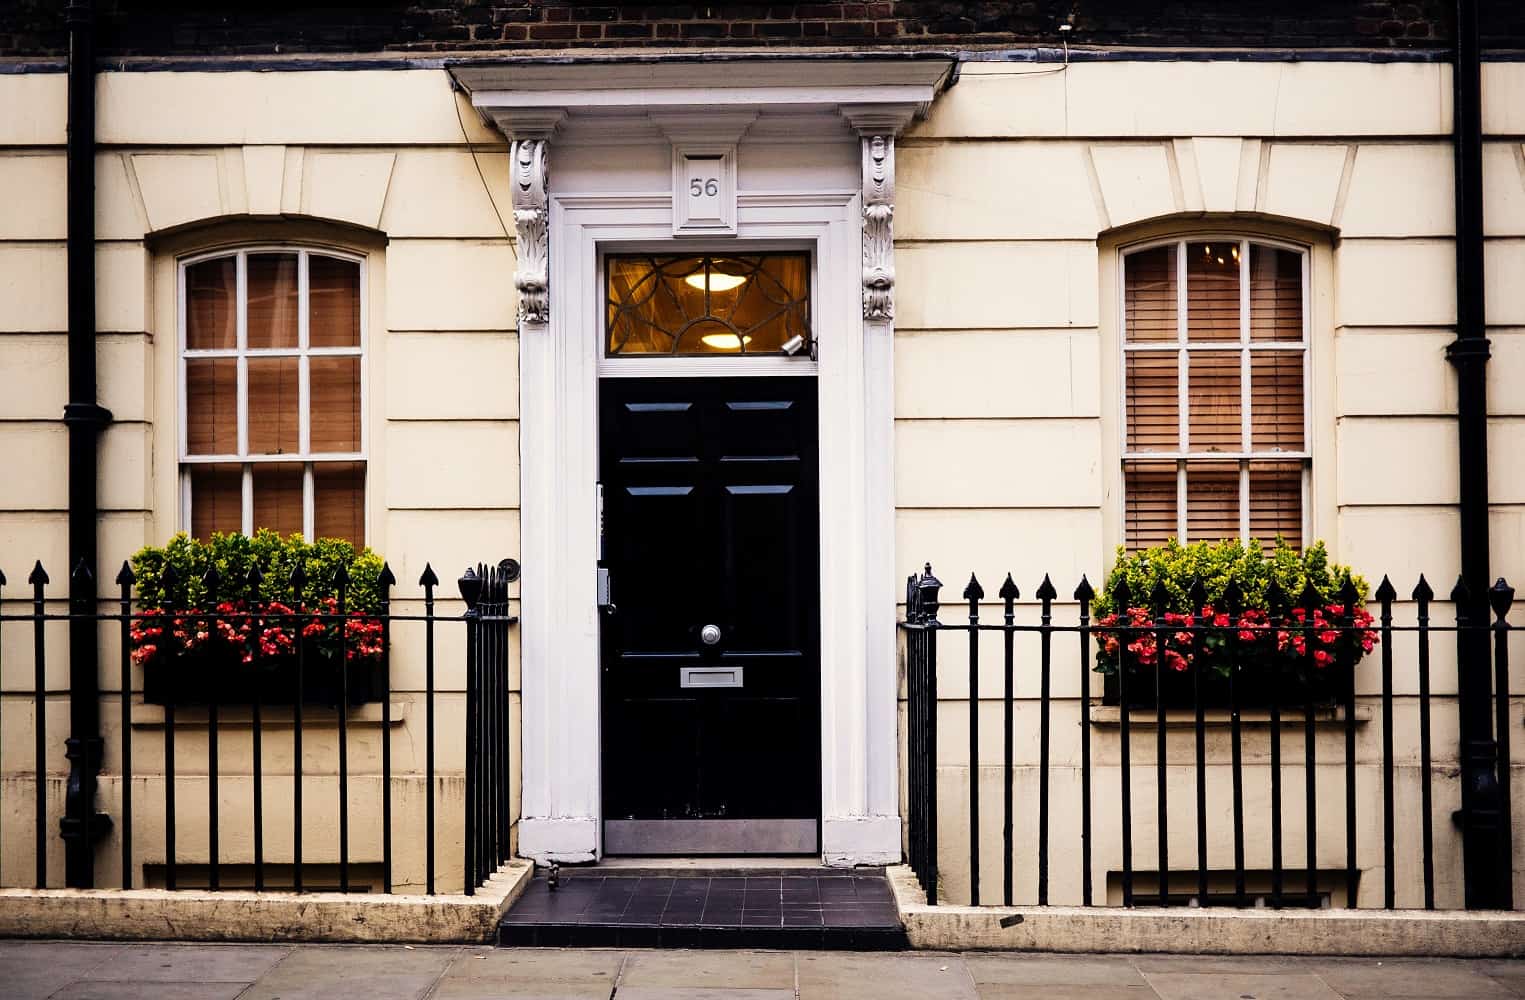
Modern homes come with great and unique designs. Architects trying to create a new era for homes and living places. Not only the interiors but also the exteriors are getting creative. As we know, we can only consider a house design best if it has proper security features with modern design. In that fact, stairs railings come first in mind. However, installing iron railings is not a complicated task for professionals. But if you are thinking of installing iron railings on your own then this post and Railings Toronto will help you do that. Let’s dive into how you can install cast or wrought iron railings.
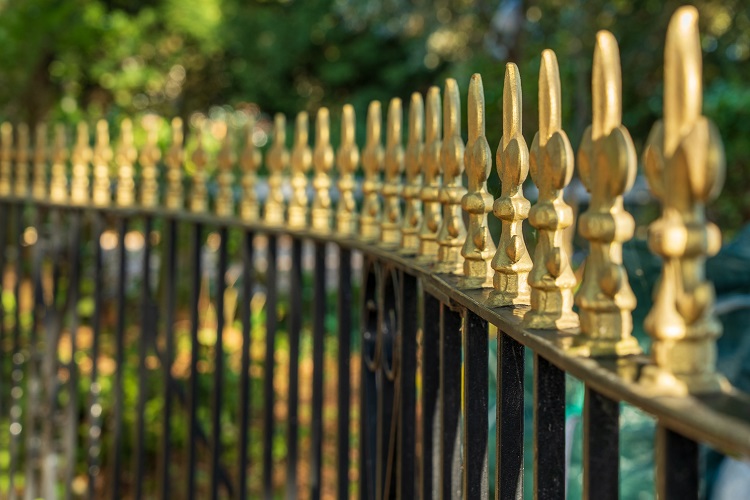
Difference between cast and wrought iron railings
How much the railings will support you depends on the build of the iron. The wrought and the cast iron railing will not provide you with the same service. And also these two types of railings are not suitable for every stairs, balcony or other places. That is why you have to decide before executing the installations.
However, wrought iron is firstly heated and then designed using tools. On the other hand, cast iron is firstly melted and then converted into a different design. So now you decide which one will provide you with more solidity and durability with a strong build. Now let’s get into how to install your iron railings.
How to DIY iron railings
It is quite an easy job for professionals to install any kind of railings in any place. But for a little task like installing a railing on an outer door, stairs will be overwhelming to call a professional. Because you can easily install those kinds of railings by yourself. Even if you are not an expert in installing a railing. However, here I will show you the step-to-step guide about installing an iron railing.
Warming Up
Clean up the area where you are going to install the railings. A dirty area will make the whole process a nightmare. Assemble all the necessary tools that will be needed to complete the installation. Call someone for providing you with a helping hand. Believe me, you will need a helping hand.
While you are warming up for final work make sure you have managed every necessary thing. Because in case of things get messy, you won’t be able to cover it up.
Things you will need
- Wall brackets
- Measuring tools
- Drill
- Wood Screw
- Setscrew
- Hacksaw
- Drop Cloths
- Open-End Wrench
Preparing the place
First of all, you have to prepare the area where you are going to install railings. Apply some drop cloth to cover important things or portions of the area. Because they can get messy while drilling. After that, we divided the area into two sections so that we can measure and apply it to the drill.
Applying brackets
The railing you have purchased will come with wall and floor brackets. Those brackets are for holding the railings securely with the foundation. So now you have to drill the floor and the wall for installing brackets. You can use battery-powered or electricity-powered drill machines to drill a perfect hole.
After properly drilling the floor, install a setscrew and tighten them with an open-end wrench. These set screws will provide support for the railing screws to hold on the floor. On the other hand, the wooden screws will go to the wall bracket holes.
Before applying the brackets you have to remember that if you mess up installing the brackets properly then the whole project will be in vain. That is why make sure you have measured the wall and floor and draw marks for drilling bracket holes. Otherwise, the brackets will not match the railing installing points and you may need to redo the whole process again.
Installing railings on the intermediate and secondary post
I assume you have done those pre-described tasks undoubtedly. Now we are going to finish the railing installation. However, after measuring and installing brackets on the floor and the wall, our stairs are ready to decorate with railings.
We have already prepared the intermediate post by applying screws and brackets. So we can now begin to assemble the iron railings to set up. Align the front part of the railing that is going to attach with the brackets. Carefully attach the part and then align the floor part and tighten the screws until it gets secure enough. Now try this with every floor section that the railing meets.
Make sure you have tightened every screw and that the railing is properly aligned with the floor and wall. If everything is perfect then measure the railing and cut the extra part of the railings with a hacksaw blade. Bind the cut part with a rubber coating or any other decoration item. You can also heat the edge and give it a new design.
Now your intermediate railing is ready and it is time for the secondary railing. You can either finish the intermediate and secondary together or separately. However, the task is the same so it is your choice whether you do it together or separately.
Bottom Line
DIY methods are getting popular from time to time because it helps us to save money for the future. In this article, you will get a guide on how to install iron railings in any place in your house. Hope this writing will help your DIY adventure.